The Apple Cinema Display Saga (part 2: Take-Apart Guide)
If you missed part 1, you should go back and read it, so you understand why I'm taking apart such an expensive monitor.
Before I cut the end of the cable off, I wanted to know what I was working with. Maybe the cable was simple to replace. Maybe it was something that I could easily find. By following this take-apart guide, you'll see, the cable is really simple to remove. The Mac mini and Nintendo Wii are much more difficult to open up (though not really that hard).
But a word of warning: After I took apart the monitor, and saw how easy the cable was to replace, I tried to locate one on the Internet. Nobody sells one. So, I went to an Apple store. Evidently, even though the monitor is easy to service, they send the monitor back to China and have the underaged children with small hands refurbish my monitor and they send me another refurbished one. There is a $120-$200 cost for this. Unless, of course, you take it apart first, in which case the refurbishment charge is $800 (for those keeping score, that's $300 more than I paid for it). Even though the monitor is not under warranty, taking it apart is one of the Seven Deadly Apple Sins. So, don't do it if you're in the same boat I am. Unless you have a cable already, in which case, let me know how you got it! ☺
So, anyway, on with the guide.
Tools
You're going to need Allen wrenches. Just get a set. You'll use like two or three. You're also going to need a good Torx set. The smaller ones. I ended up using my Console Access Pro Toolkit because my other Torx set didn't have a Torx bit small enough. You'll also need a #1 Philips screwdriver, and another Philips screwdriver that is much bigger. The screw is weird though, I couldn't get it to turn with any of my bigger Philips screwdrivers, so I ended up using a big flathead screwdriver to turn it. You'll also need a knife or this same flathead screwdriver for prying purposes, and it would really help if you had a magnetic probe. You can get one at AutoZone at the counter where they sell the M&Ms and tire gauges, and you will learn to love it. Perhaps more than yourself or the Weighted Companion Cube.
You might also need a couple pairs of pliers to seperate connectors, but I didn't (I did on my Nintendo Wii, however).
The Guide
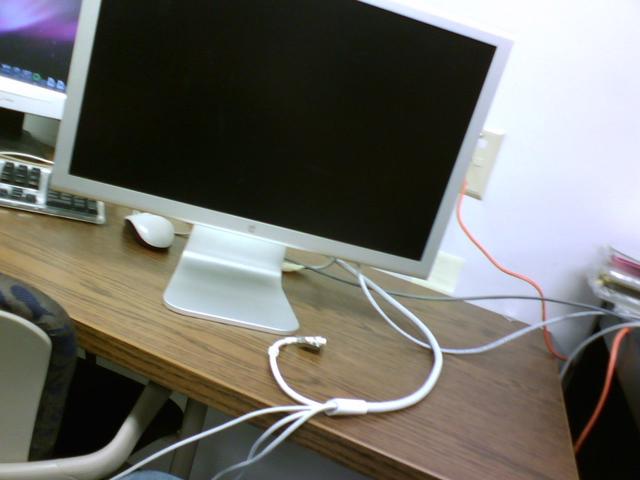
You're going to start with this:
From there, you need to take the white side panels off. To do this, grab your knife or screwdriver and use it to pry up the white panel from the top. They're glued on with really strong glue, but if you open them like this, you'll get them off (pull gently, but don't be afraid to use a little force!):
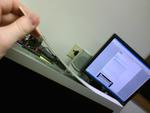
On the side of the display with the power button, you'll have to unplug a small cable. I just pulled the cable out of the socket since I could pull by the connector easily. If you cannot, use pliers. Do not pull by the wire!
Next, remove the base. It's really rather simple, so I didn't take pictures of it. Remove four Torx screws from the part of the base where it meets the monitor (you have to look for them a little). Then, you have to remove the big screws on the sides of the base that open with Allen wrenches. They're silver. Can't miss them.
After that, you'll need to remove all of the little screws on the sides of the monitor. Not the two or three bigger ones - don't mess with those yet.
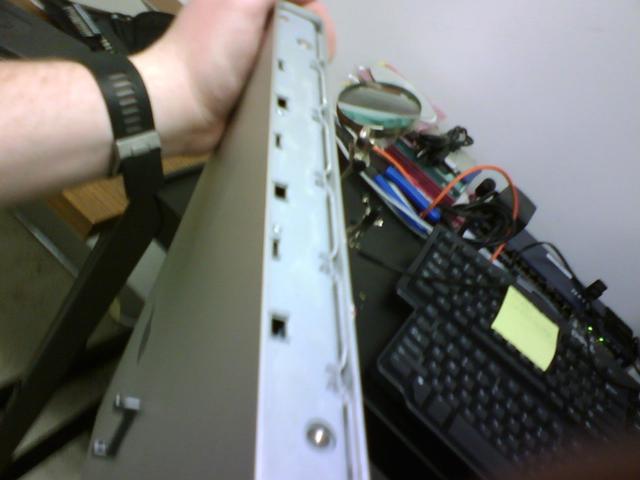
Next, pull up on the bracket you just unscrewed and remove it. Then remove the topmost big screw on the sides of the monitor (top in relation to the monitor).
You're almost there! You need to release these.. levers.. that hold it all together. Use pliers, a screwdriver, your finger (if you want it to hurt), or something else to pull the levers. They don't come out very far. Here's what they look like:
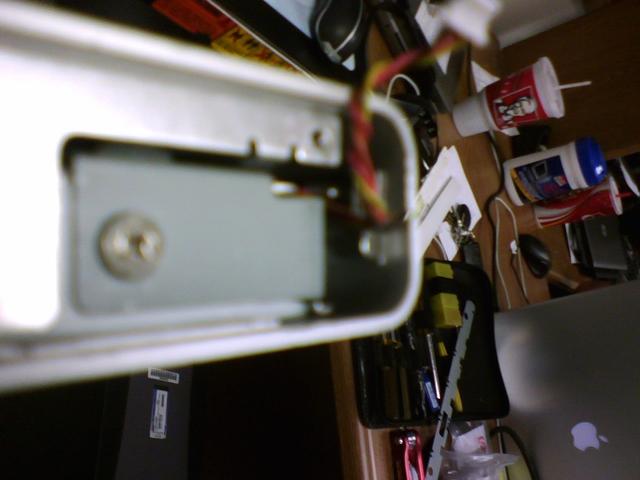
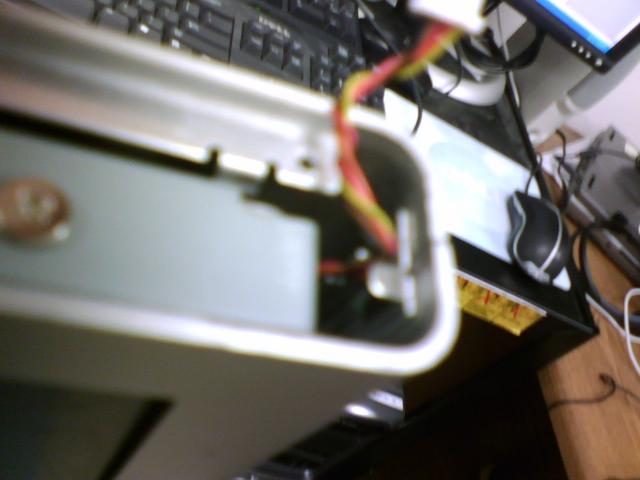
There's one on both sides, by the way.
You'll need to disconnect the status LED. The connector is taped to the screen, remove the tape and disconnect the connector.
Finally, use gravity to your benefit, and ease the screen out of the aluminum casing. You will have to feed the cable through the hole in the back, and you can't do it at an angle (the screen will only slide out exactly vertically). You'll end up with this:

From here, remove the tape and unplug the cable, if that's what you took it apart for. You'll probably want to mark what went where, just in case.
But, again, remember that even if you have no warranty, this will not be good if you need to order parts and aren't an Apple Authorized Service Provider...